 Plus
Plus
Set Up Scaptify Plus
To be able to use Scaptify Plus, some settings need to be made.
- Choose the
 icon, enter Shopify Shops, and then choose the related link.
 - Select the shop for which you want to configure Scaptify Plus.
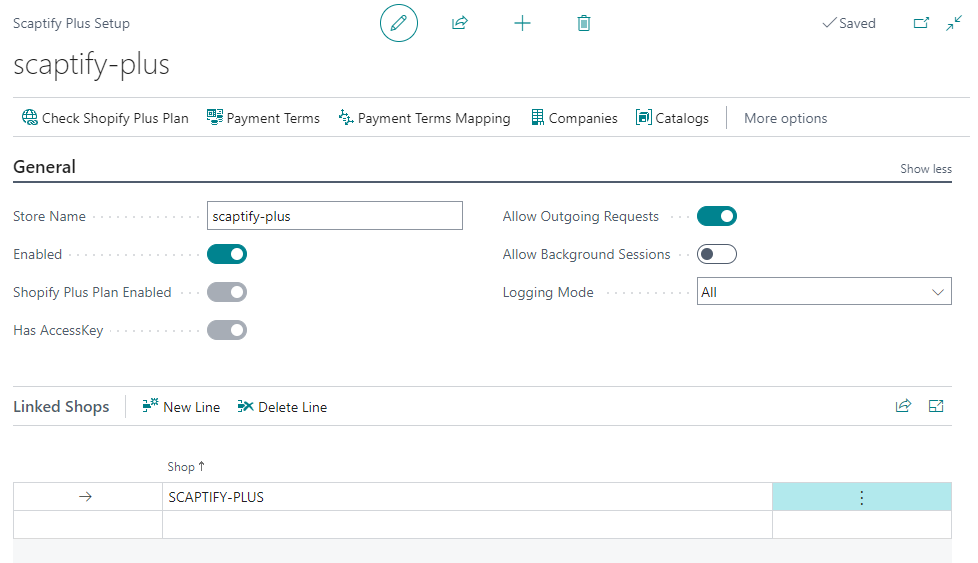
- Use the Scaptify Plus Setup action on the Shopify Shop Card page to set up Scaptify Plus.
- Select the Enable checkbox to enable the Scaptify Plus service.
After reviewing terms and conditions, choose the Install app button in the pop-up from Shopify. - When the Shopify Plus Plan Enabled checkbox is not yet selected, use the Check Shopify Plus Plan action to check if the Shopify Plus Plan is activated in Shopify.
- Select the Allow Outgoing Requests checkbox to allow requests to Shopify Plus.
Note
The Scaptify Plus service can only be enabled when the New sales pricing experience is enabled in Feature Management.
Set up Payment Terms
Define how you want the connector to perform the mapping for payment terms.
- Choose the icon, enter Shopify Shops, and then choose the related link.
- Select the shop for which you want to map the payment terms.
- Use the Scaptify Plus Setup action on the Shopify Shop Card page.
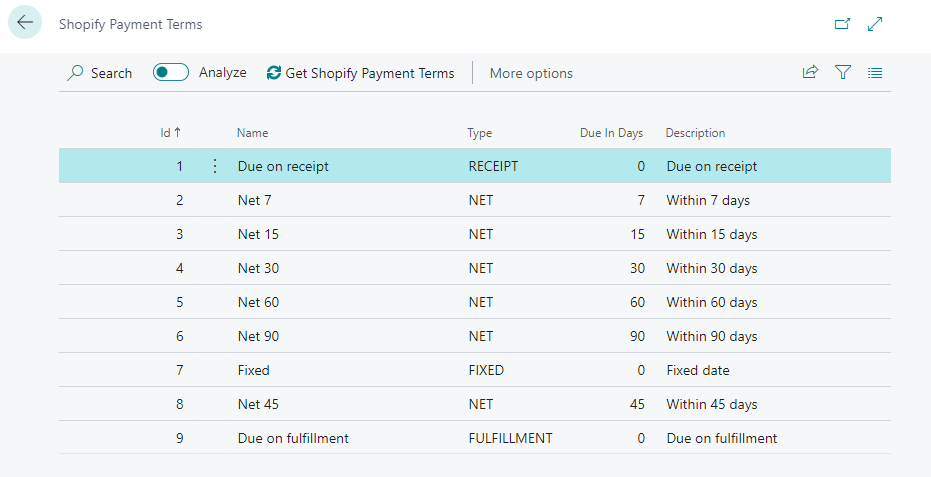
- Use the Payment Terms action to open the Shopify payment terms. Use the Get Shopify Payment Terms action to get the payment terms from Shopify to Business Central.
- Use the Payment Terms Mapping action on the Scaptify Plus Setup page to map the Business Central payment terms with the Shopify payment terms.
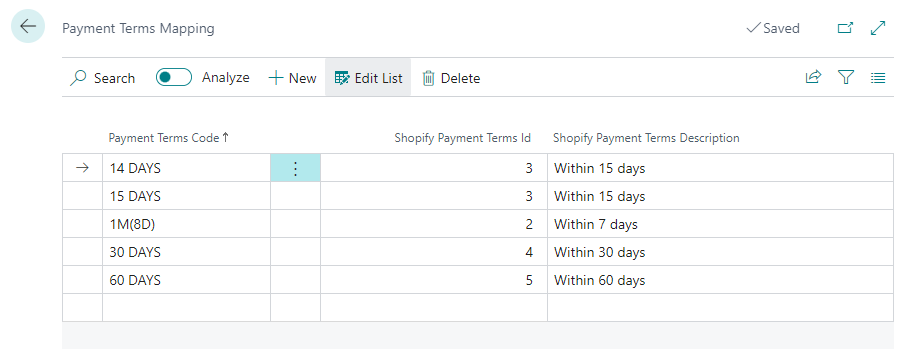
Note
When there is no mapping between the payment term in Business Central and the payment term in Shopify, the payment term No Payment term, wich means that the full payment is due at checkout or when the invoice is sent, will be used for the company in Shopify.